Containers & Planters
DIY House Number Succulent Planter
We're pleased to present a sweet succulent container project from Enid, the creative maker behind A Charming Project. She brings her signature style to this inspiring design that highlights the low-maintenance whimsy of succulents. Enjoy!
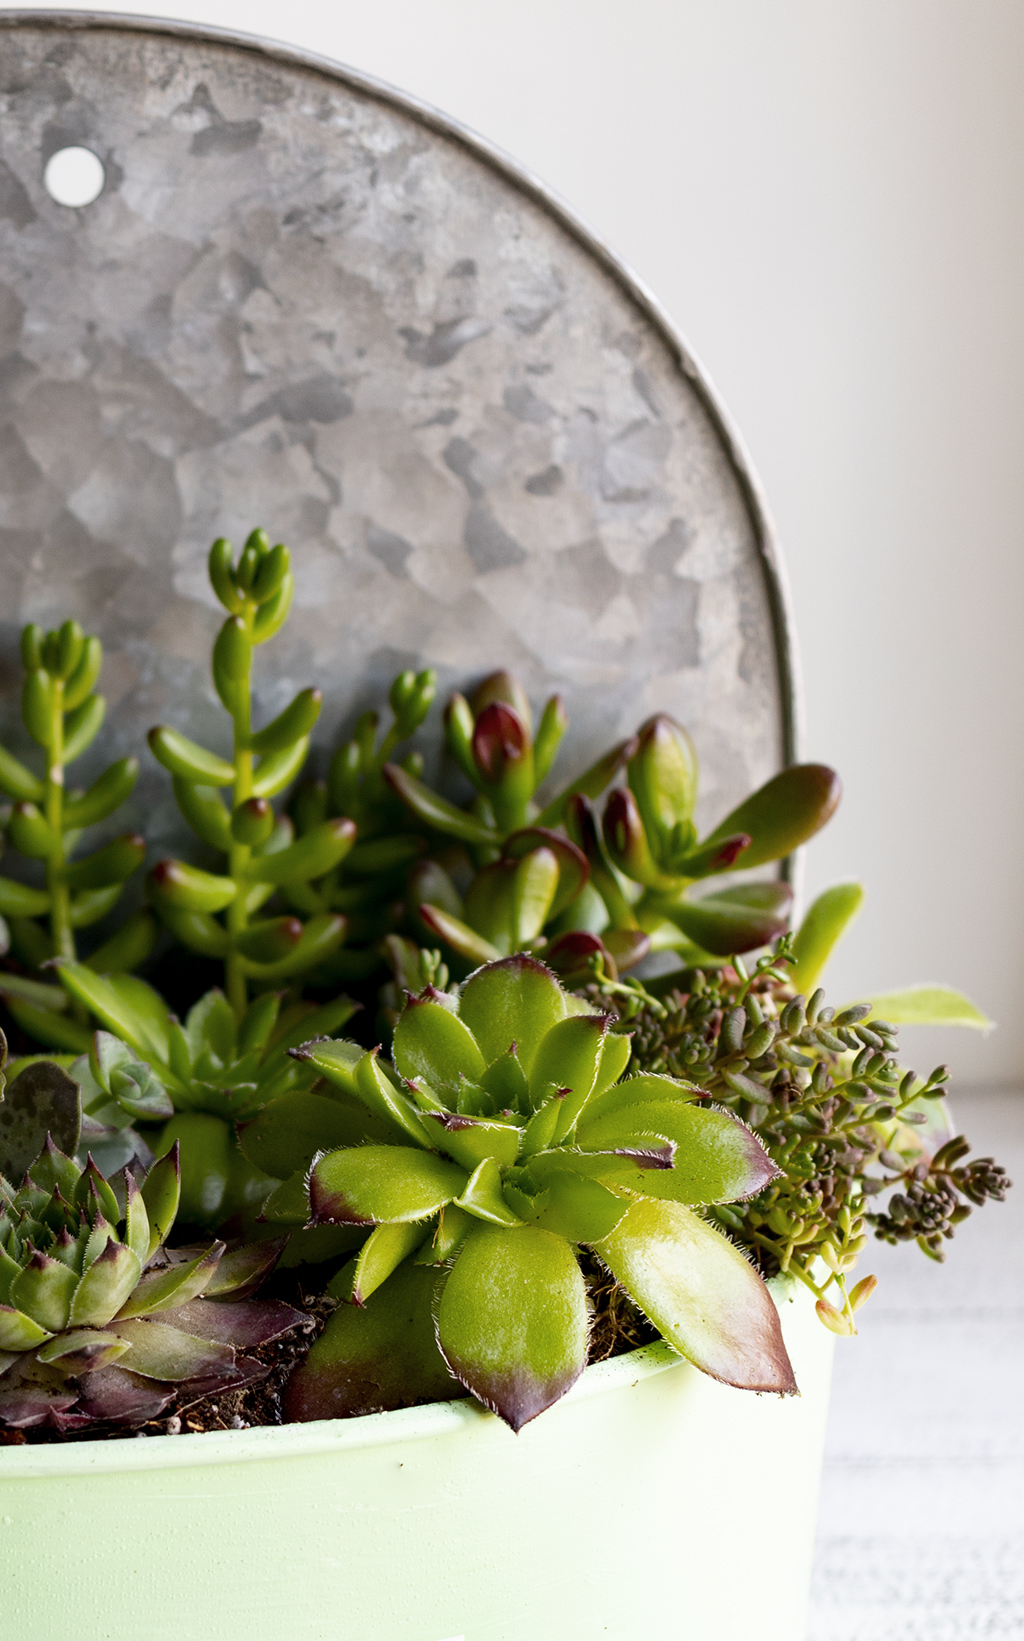
Temperatures are finally starting to warm up, which means we will all be spending more time working outside on our gardens or outdoor home projects. If you love the best of both worlds you’ll love this easy DIY House Number Succulent Planter. This mini container garden doubles as a house number marker, while showing off your hardy succulents all year round! Place it outside in your front yard, garden path, or on your porch for a delightful, eye-catching display.
For this project you will need a mix of Hardy Succulents if you live in a climate that can get temperatures below freezing. Sempervivum (Hens & Chicks) and Sedum work particularly well. Browse all frost hardy succulents or save money with a Tray of Assorted Varieties.
Plants used in this design include:
- Adromischus maculatus
- Crassula ovata 'Baby Jade'
- Crassula ovata - Classic Jade
- Crassula ovata 'Hobbit' Jade
- Crassula ruestris
- Sedum album 'Coral Carpet'
- Sedum rubrotinctum - Jelly Bean
- Sempervivum arachnoideum 'Cebenese'
- Sempervivum 'Dallas'
- Sempervivum 'Spring Beauty'
- Sempervivum heuffelii 'Apache'
- Sempervivum heuffelii 'Beatrice'
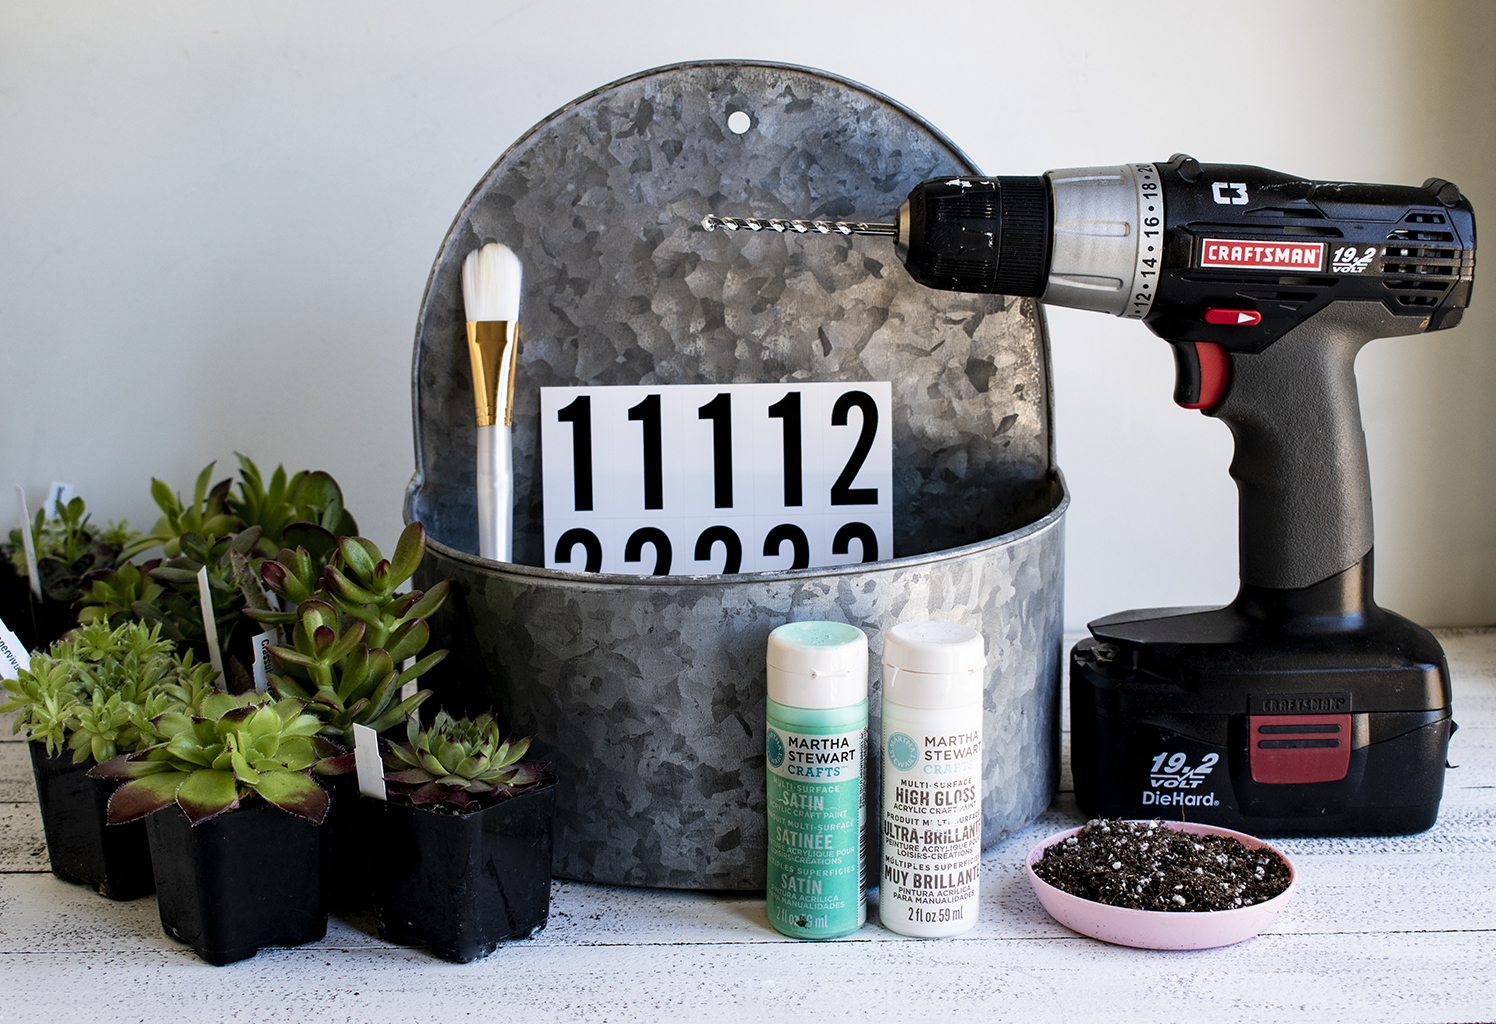
Supplies:
- House number stickers (available at hardware stores)
- Martha Stewart waterproof craft paint (sweet pea in satin and white in high gloss)
- Galvanized metal planter (available at Michael's craft stores or garden centers)
- Drill and 0.25" drill bit
- Succulent soil (available at garden centers)
- Paintbrush
- Garden gloves (optional)
Step 1. Preparation
Before you begin, gather your supplies. Remove the price sticker and wash metal planter with warm soapy water. Wipe with a hand towel or set aside until the container is completely dry. Washing the container will help the paint adhere to the metal.
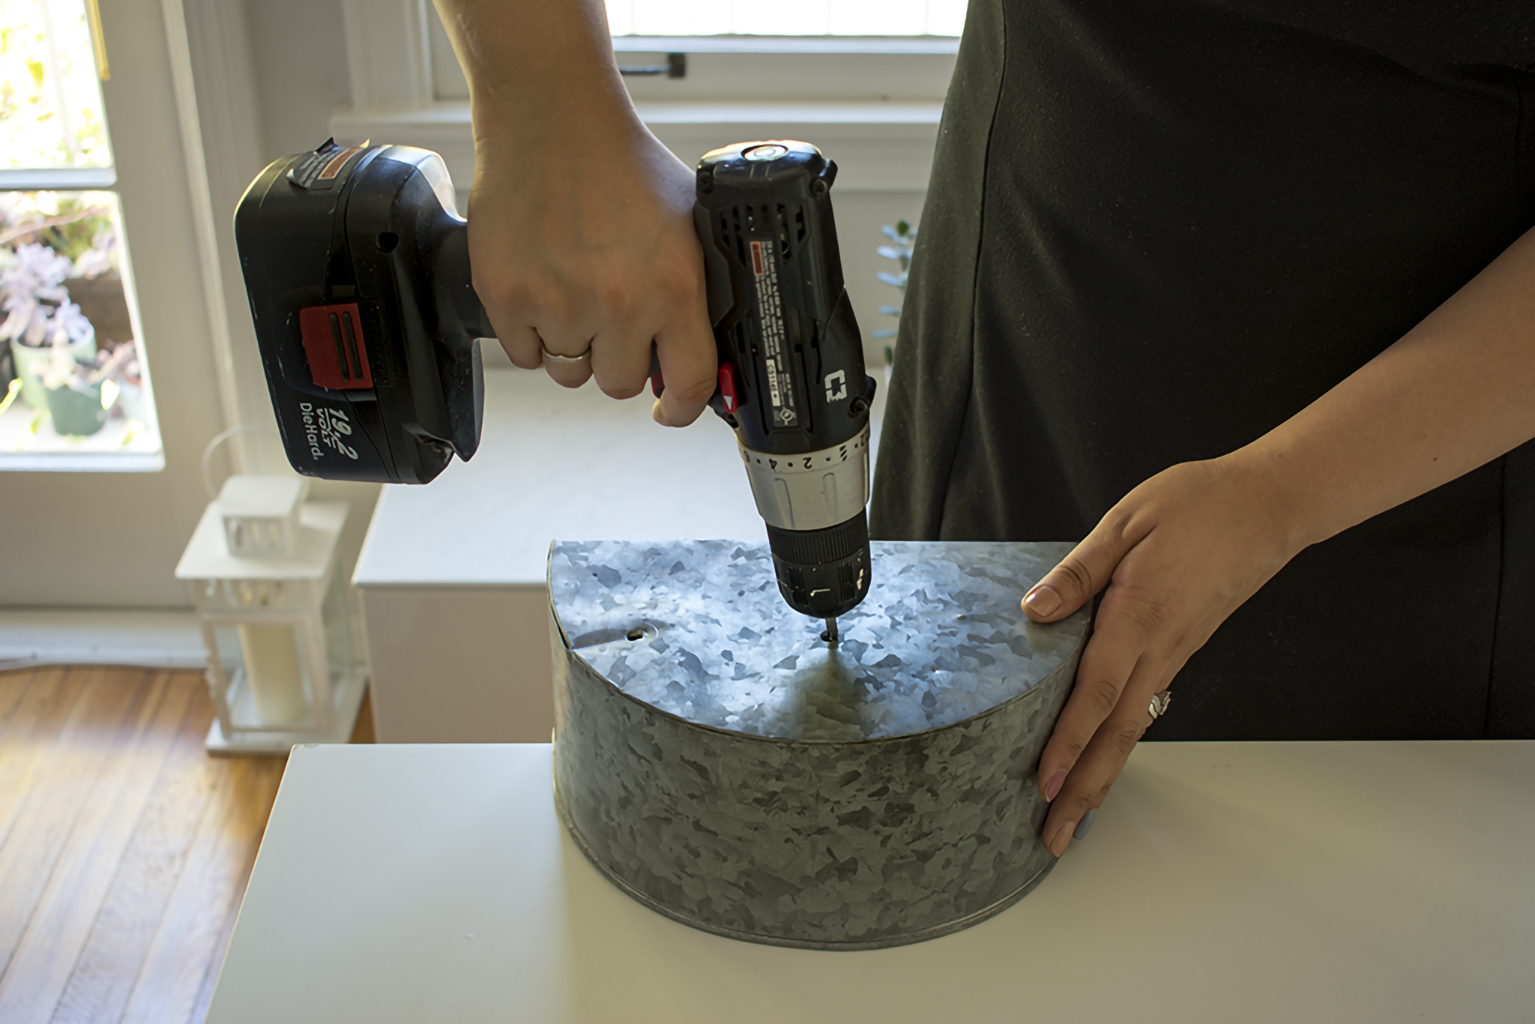
Step 2. Drainage holes
It’s important to thoroughly water your succulents to keep them happy and healthy, especially in the warm, sunny months. Since succulents don’t like "soggy feet" drainage is very important. Place your planter on a sturdy, even surface and drill 3 to 5 drainage holes into the bottom of the planter. Apply even pressure as you drill to avoid warping or bending the metal.
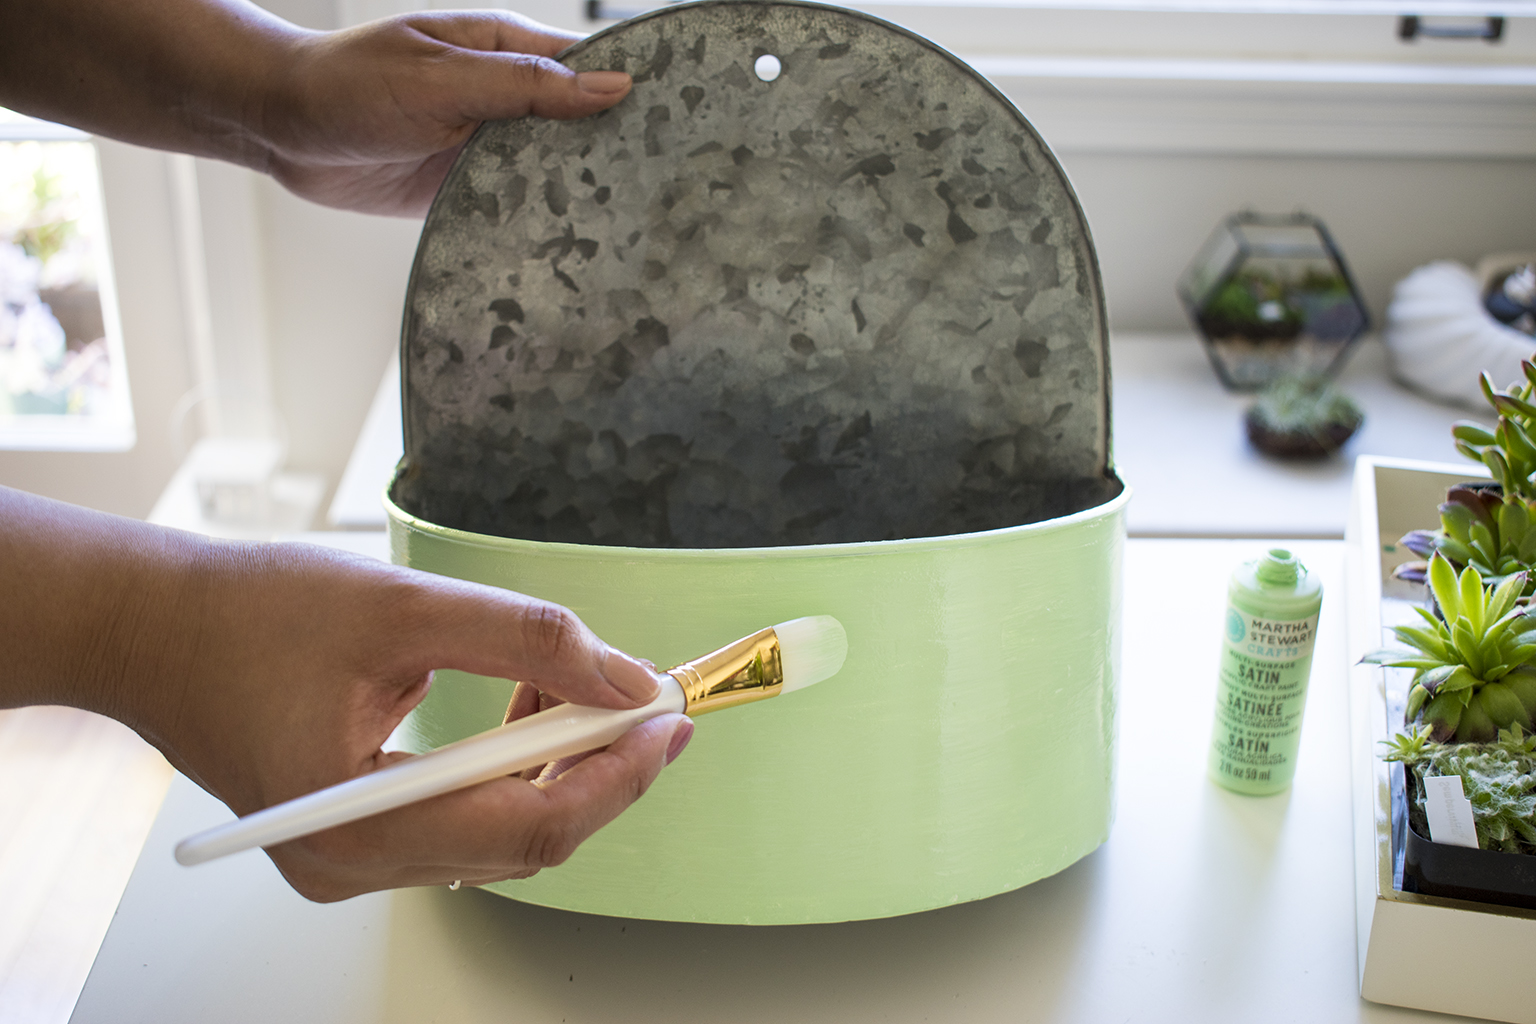
Step 3. Painting
I used a minty green color for my planter but you are welcome to choose any color of your liking. The most important thing when picking out paint is to choose waterproof craft paint, especially if your planter will be outdoors. Start by adding a white base layer. This will help the next colorful layer really pop. Wait one hour for the base layer to dry, then paint over the white layer with a color of your choice. Allow the paint to dry fully before moving on to the next step.
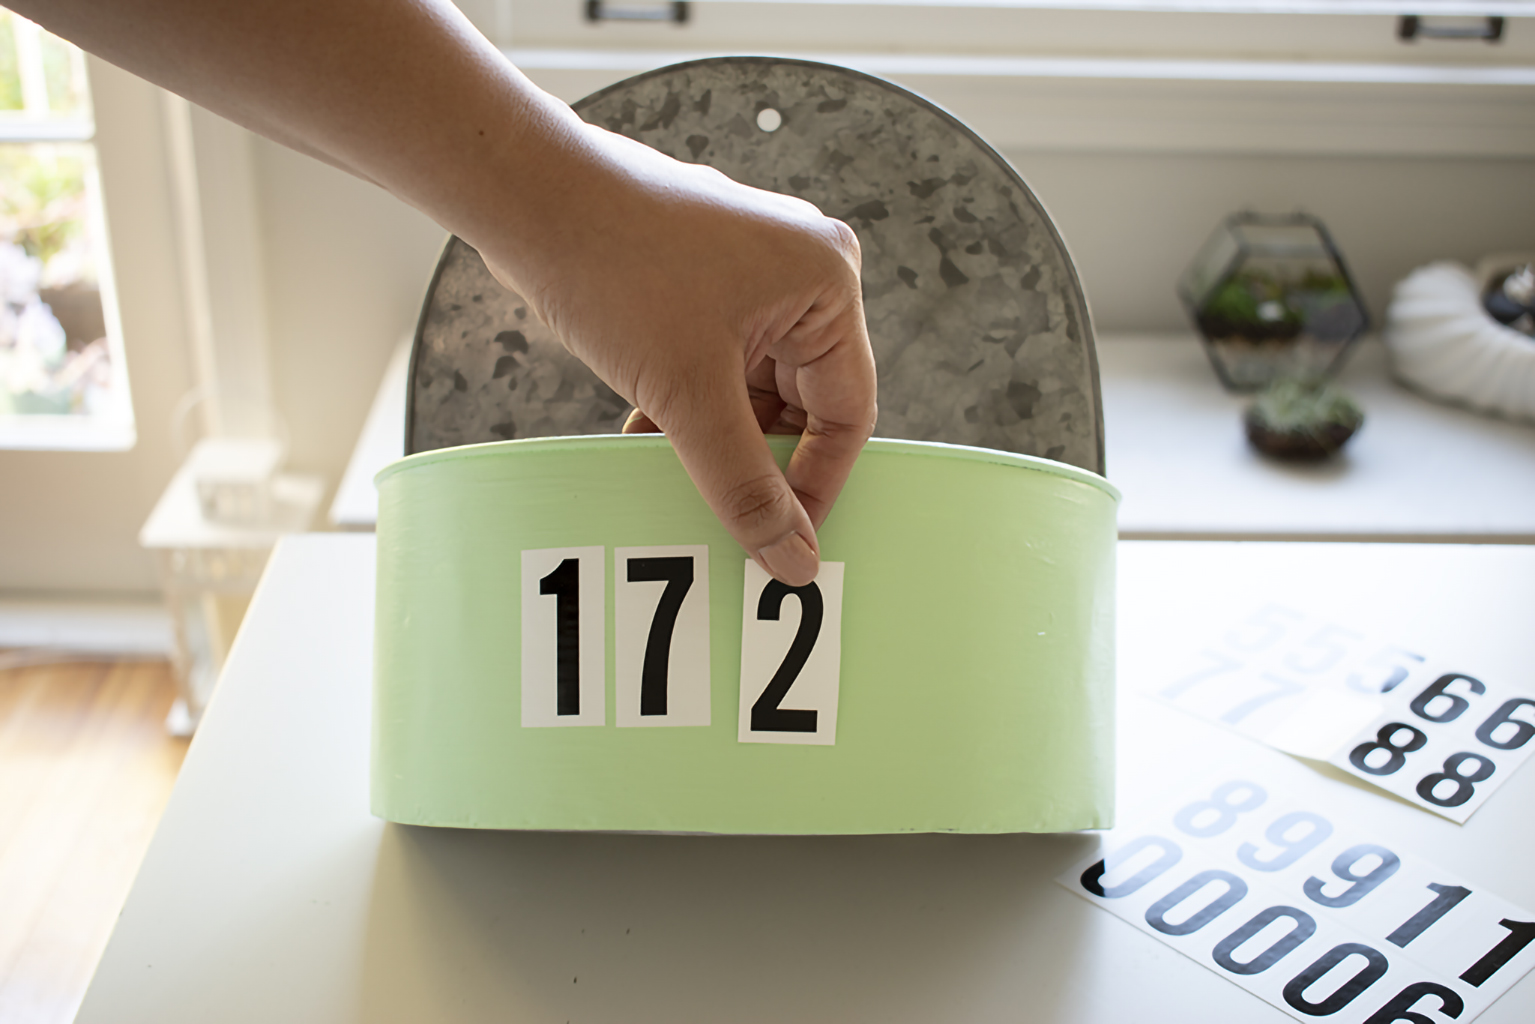
Step 4. Stickers
You can find house number stickers at most hardware stores or even online. Remove the plastic backing and center your stickers before placing each sticker in position. Smooth out any air bubbles by pressing down firmly from the center of the sticker all the way to the edges.
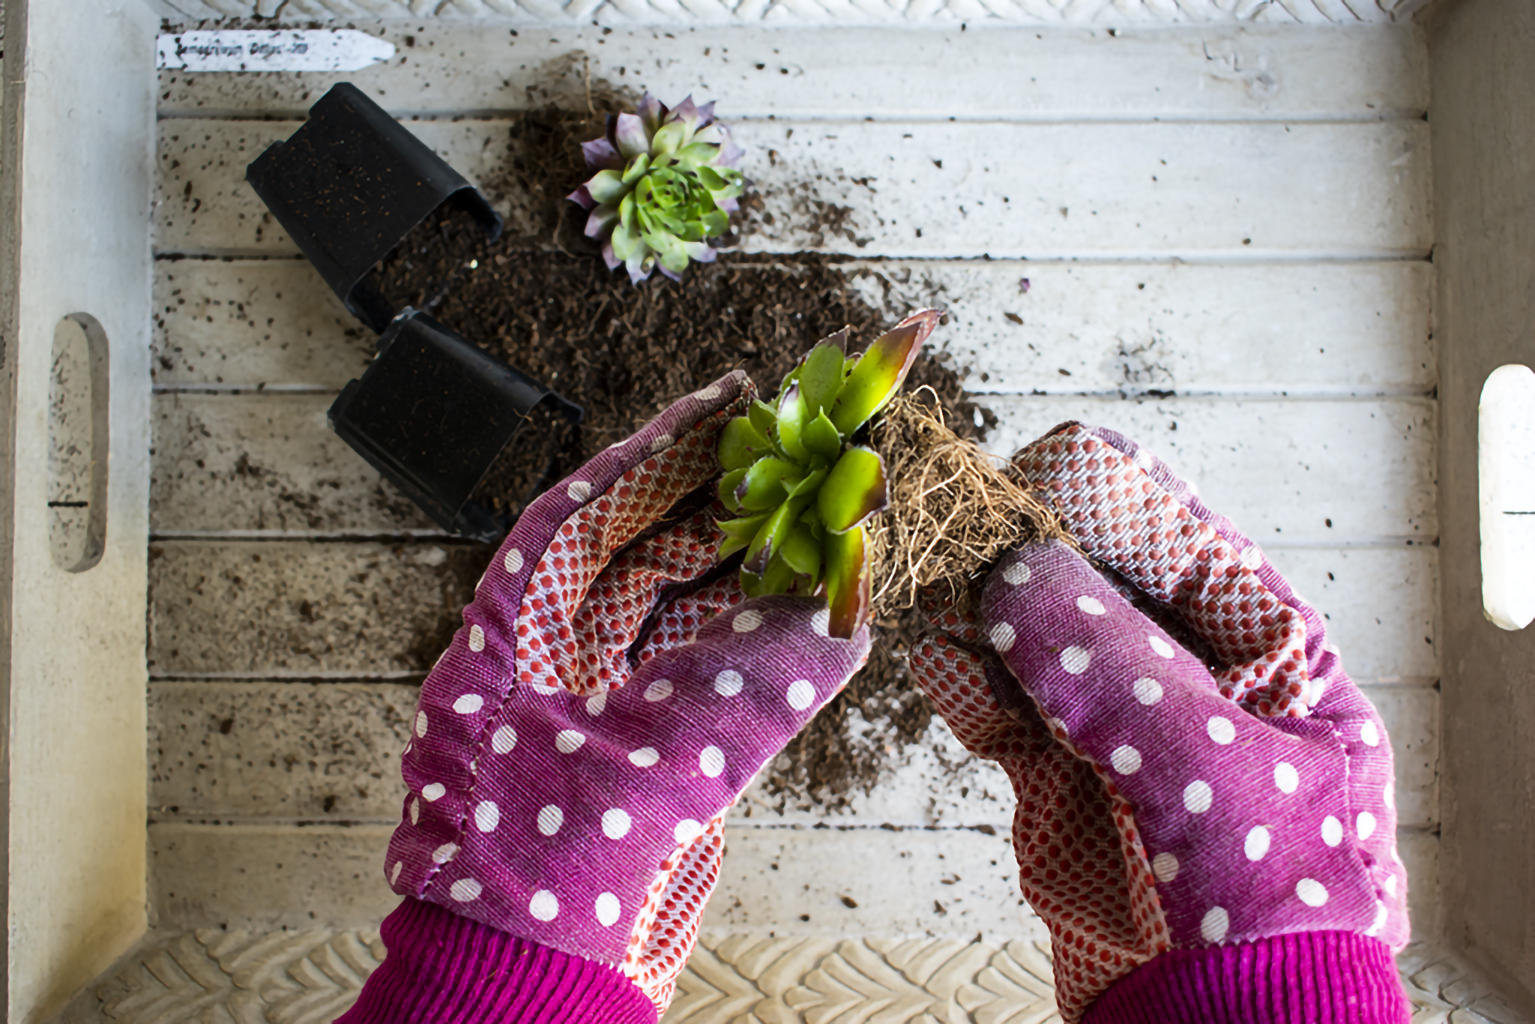
Step 5. Remove from pots
Gently remove succulents from their individual pots and massage the roots to remove some of the potting soil before placing them in their new home.
Step 6. Succulent soil
Fill the planter with well-draining succulent soil. To help you decide on spacing and your plant arrangement, dig small pockets into the soil where you think you may want to place your succulents and play around with different placement before planting.
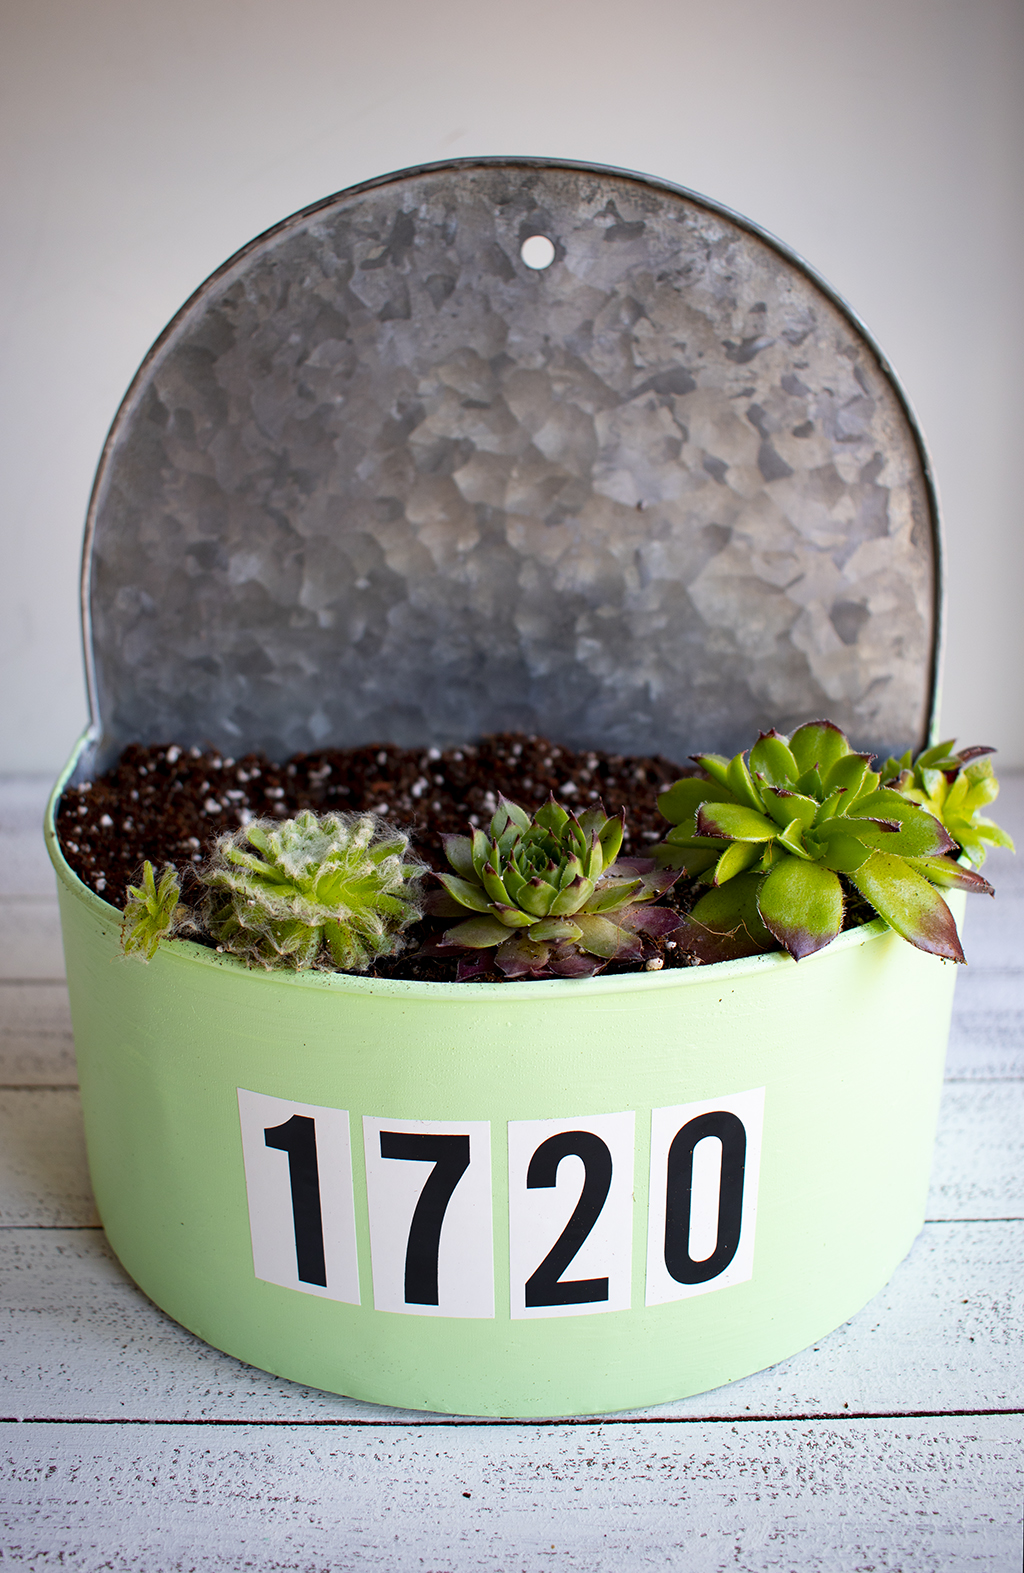
Step 7. Planting succulents
Plant small succulents near the front of the planter first, as well as any succulents that may grow to cascade over the front of the planter. Then fill in the back of the planter with taller succulents. Press soil down firmly around each succulent.
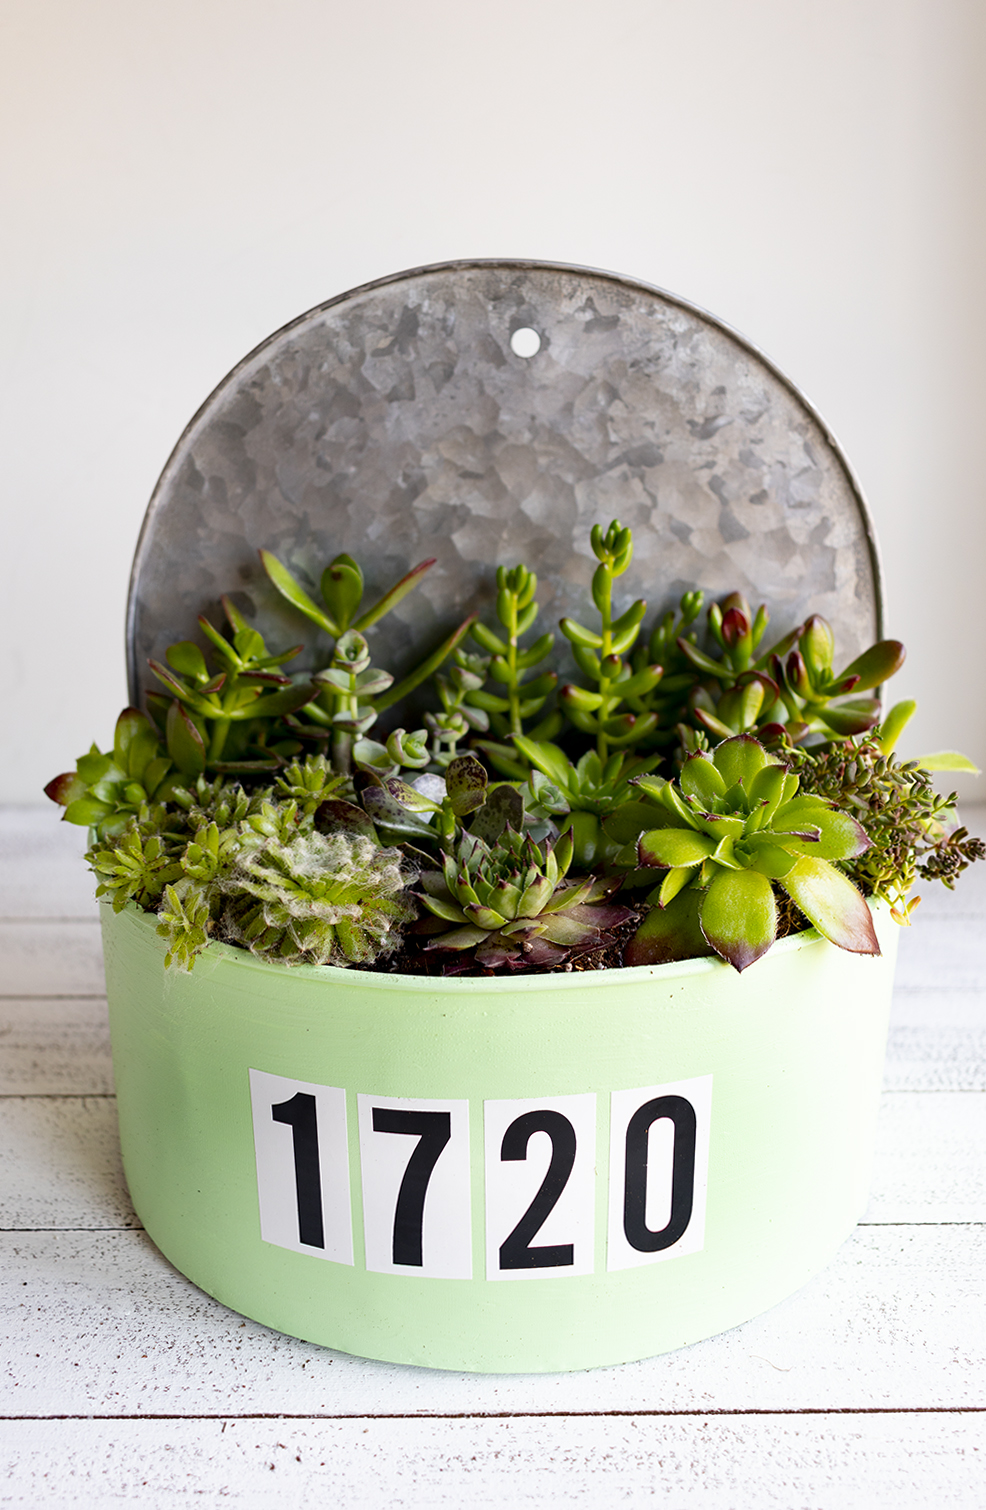
And that's it! Place your creation in an area that gets morning sun and afternoon shade, if possible. Metal containers can heat up quickly in full sun, but a deep drenching of water in the morning or evening will help your succulents survive the heat. Only water when the soil is dry and you'll see your plants spilling from the container in no time.